
Introduction
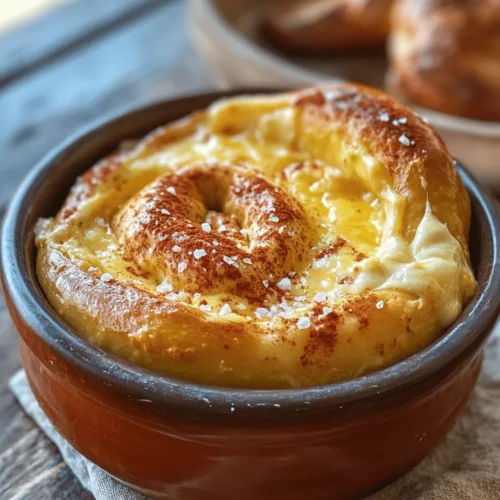
There’s something undeniably comforting about indulging in soft pretzels, whether at a bustling street fair, a cozy movie night at home, or a lively sports gathering with friends. These delightful snacks have a special place in our hearts, evoking memories of laughter and sharing. Soft pretzels are not just a food; they are an experience, a bridge between nostalgia and flavor that transcends generations.
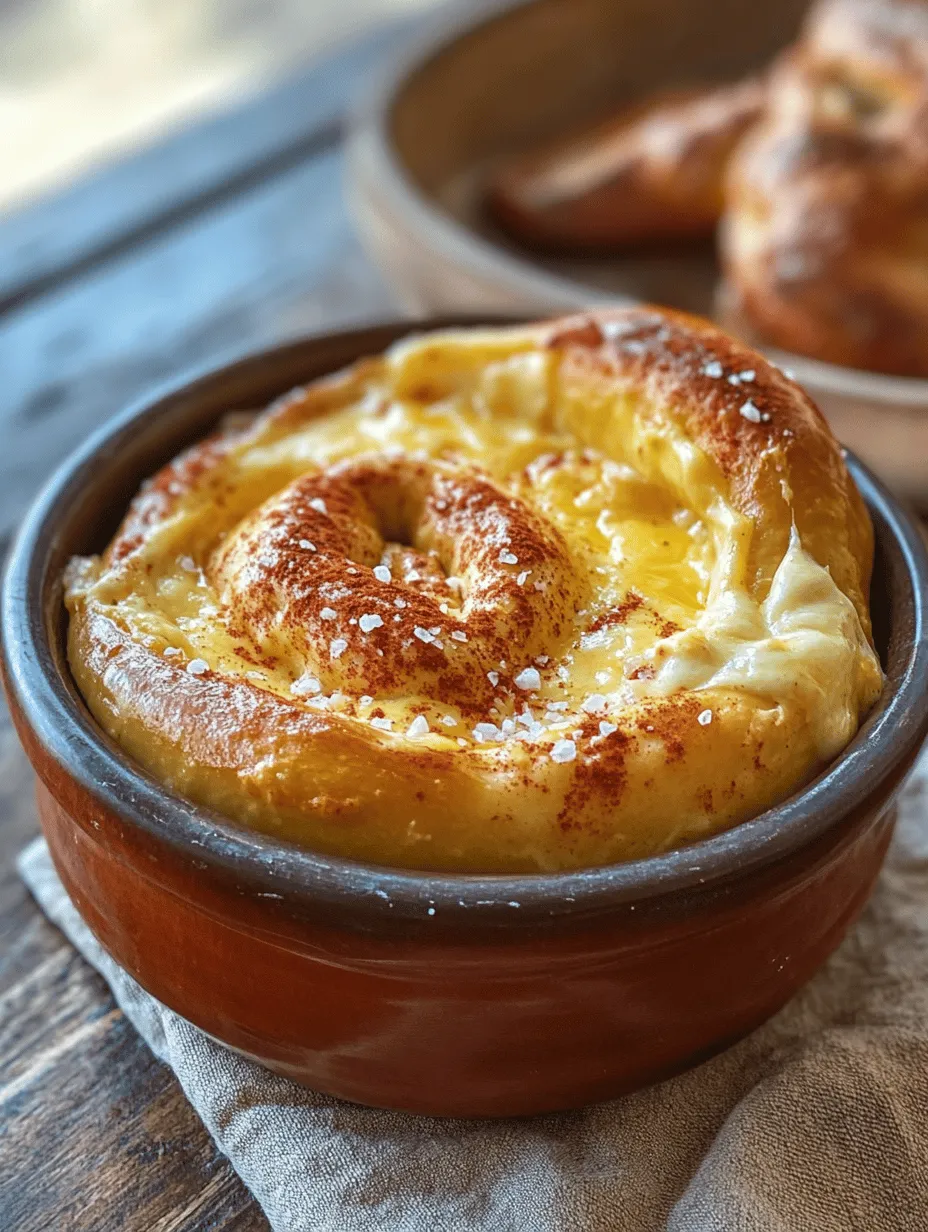
The allure of soft pretzels deepens when paired with a rich, creamy cheesy dip. Imagine biting into the warm, doughy goodness of a freshly baked pretzel, then savoring the smooth, cheesy bliss that follows. This combination elevates any occasion, transforming a simple snack into a gourmet treat that tantalizes your taste buds. The great news? You don’t need to visit a specialty shop to enjoy this culinary delight. With this easy homemade recipe, you can craft your own soft pretzels alongside a cheesy dip that will impress your family and friends alike. Perfect for gatherings, game days, or family movie nights, this recipe is sure to become a staple in your kitchen.
The Allure of Homemade Soft Pretzels
Soft pretzels have a rich history that spans cultures and continents. They have roots in ancient times, tracing back to the Roman Empire, and have evolved into a beloved snack in various cuisines, from German beer gardens to American sports stadiums. Each culture has put its own spin on the classic pretzel, resulting in a variety of shapes, sizes, and flavors that have delighted palates for centuries.
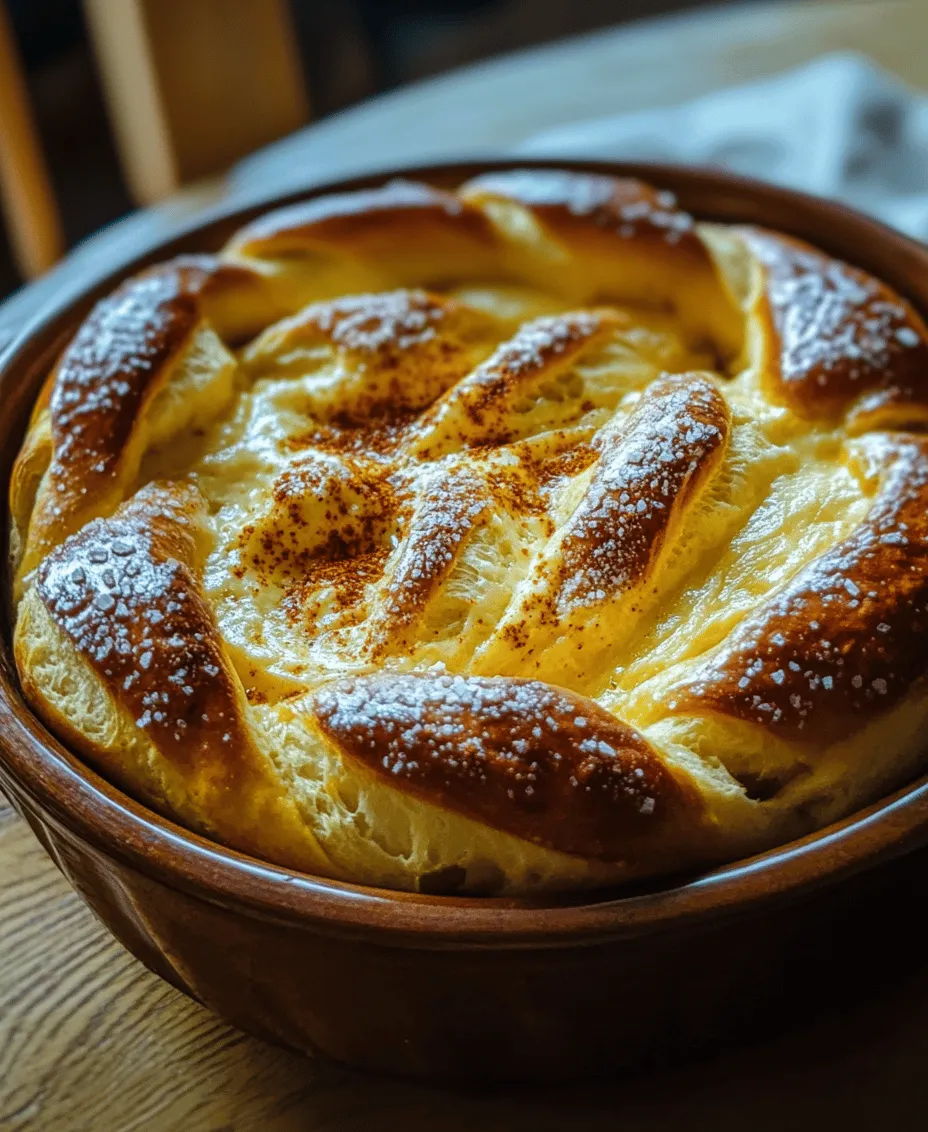
What truly sets homemade soft pretzels apart from their store-bought counterparts is the texture and flavor profile. When you make pretzels from scratch, you have control over every ingredient, allowing you to create a product that is fresh, warm, and bursting with flavor. The outer crust is golden brown, with a satisfying crunch that gives way to a soft, chewy interior. Store-bought pretzels often lack the depth of flavor and freshness that homemade versions provide, leaving you with an experience that is far from satisfying.
Moreover, there is a unique satisfaction that comes from kneading dough and watching it rise, transforming simple ingredients into a beautiful creation. The process of making soft pretzels is not just about the end product; it’s about enjoying the journey and the joy of sharing your creations with others. Your home will be filled with the enticing aroma of freshly baked pretzels, and there’s nothing quite like the pride of serving a dish you made from scratch.
Ingredients Breakdown
To embark on your pretzel-making adventure, let’s take a closer look at the essential ingredients that will bring these delightful snacks to life, as well as the components of the cheesy bliss dip.
Ingredients for Soft Pretzels
1. All-Purpose Flour: The backbone of your pretzel dough, all-purpose flour is essential for achieving the perfect texture. It provides the right balance of strength and elasticity, allowing the pretzels to hold their shape while still being soft and chewy.
2. Active Dry Yeast: This ingredient is crucial for the rising process, as it ferments and produces carbon dioxide, which causes the dough to expand. The yeast also contributes to the rich flavor of the pretzels. Ensuring that your yeast is fresh and properly activated is key to achieving that perfect rise.
3. Warm Water and Sugar: Warm water is necessary to dissolve the yeast and sugar, initiating the fermentation process. Sugar acts as food for the yeast, enhancing its activation and resulting in a lighter, airier pretzel.
4. Salt: Not just a flavor enhancer, salt strengthens the dough and helps control the fermentation process. It’s important to use the right amount; too much salt can inhibit yeast activity, while too little can lead to bland pretzels.
5. Baking Soda: This is a vital component in creating the signature pretzel crust. When the pretzels are boiled in a baking soda solution before baking, it gives them that distinct chewy texture and deep brown color.
Ingredients for Cheesy Bliss Dip
1. Sharp Cheddar Cheese: The star of the dip, sharp cheddar offers a bold flavor that pairs beautifully with the soft pretzels. Its melting quality ensures a creamy, luscious dip that’s both rich and satisfying.
2. Milk: Dairy provides the creamy base for the dip. The amount of milk can be adjusted depending on your desired consistency, allowing you to create a dip that is perfectly smooth and pourable.
3. Butter: Adding butter to the cheesy dip enhances creaminess and richness, making every bite feel indulgent. It also adds a depth of flavor that complements the sharpness of the cheddar.
4. Seasonings: Garlic powder and paprika are essential for elevating the flavor of your dip. Garlic powder adds a savory note, while paprika brings a subtle warmth and a hint of smokiness, enhancing the overall taste experience.
Step-by-Step Guide to Making Soft Pretzels
Preparation of the Dough
Now that you have all the ingredients ready, it’s time to dive into the process of making soft pretzels. The first step involves preparing the dough, which is crucial for achieving that perfect soft texture.
1. Combine Yeast, Water, and Sugar: Begin by warming up about 1 cup of water to around 110°F (43°C). This temperature is ideal for activating the yeast without killing it. In a mixing bowl, combine the warm water, sugar, and the active dry yeast. Stir gently to dissolve the yeast and let the mixture sit for about 5 to 10 minutes. You should see bubbles forming on the surface, indicating that the yeast is active.
2. Mix in Flour and Salt: In a large mixing bowl, combine 4 cups of all-purpose flour and 1 teaspoon of salt. Once the yeast mixture is ready, pour it into the flour mixture. Using a wooden spoon or your hands, mix until the dough starts to come together.
3. Tips for Achieving the Perfect Dough Consistency: The dough should be slightly tacky but not overly sticky. If it feels too wet, add a little more flour, a tablespoon at a time, until you achieve the right consistency. Conversely, if it’s too dry, add a touch more warm water.
Kneading and First Rise
1. Kneading the Dough: Once your dough has come together, it’s time to knead. Lightly flour a clean surface and turn the dough out onto it. Knead the dough for about 5 to 7 minutes, folding it over itself and pressing down with the heel of your hand. This process develops the gluten, which is vital for the chewy texture of the pretzels.
2. Optimal Conditions for Dough Rising: After kneading, shape the dough into a ball and place it in a lightly greased bowl. Cover the bowl with a clean kitchen towel or plastic wrap and let it rise in a warm, draft-free area for about 1 hour, or until the dough has doubled in size.
During this rising period, the yeast will work its magic, creating air pockets in the dough that contribute to the soft, fluffy interior of the pretzels.
As we move forward in this culinary journey, you’ll soon be crafting delicious soft pretzels and a cheesy dip that will have your taste buds dancing. Stay tuned as we delve into the next steps, including shaping the pretzels and preparing the cheesy bliss dip that will make this dish truly unforgettable.
Shaping the Pretzels
Once your pretzel dough has risen beautifully, it’s time to shape it into those iconic twists. Begin by dividing the dough into equal portions, about 8 ounces each, which should yield 8 to 10 pretzels, depending on your desired size.
Techniques for Rolling and Twisting the Dough
To shape your pretzels, take one piece of dough and roll it into a long rope about 24 inches in length. The key to achieving the perfect pretzel shape is maintaining an even thickness throughout the rope. If there are thinner spots, they may not hold up during cooking, leading to unevenly cooked pretzels.
Once your rope is ready, follow these steps to create the classic pretzel form:
1. Create a Loop: Start by forming a U-shape with the rope.
2. Twist: Cross the ends over each other twice, creating two twists.
3. Fold: Bring the ends down towards the bottom of the U, pressing them gently onto the bottom curve of the dough to secure the shape.
Visual Cues for Achieving the Classic Pretzel Form
As you shape the pretzels, keep an eye on the symmetry. A well-formed pretzel should have a thick center and thinner ends. The twists should be prominent, but not so tight that they break the dough. If you find the dough is resisting your shaping efforts, let it rest for a few minutes; this relaxes the gluten and makes it easier to work with.
The Baking Soda Bath
One of the secrets behind a soft pretzel’s unique flavor and texture is the baking soda bath. This step is critical as it creates that signature chewy crust and enhances the pretzel’s rich brown color.
Explanation of How the Baking Soda Bath Contributes to Pretzel Flavor and Texture
When the shaped pretzels are dipped into the boiling baking soda solution, a chemical reaction occurs that helps to develop the Maillard reaction during baking. This not only gives the pretzel its characteristic golden-brown color but also adds a subtle flavor that is distinctly pretzel-like.
Safety Tips for Handling Boiling Water
While performing the baking soda bath, safety is paramount. Ensure you are using a deep pot to avoid any boiling water splashes. Always add the baking soda to the water slowly to prevent a vigorous reaction. Use a slotted spoon or skimmer to lower the pretzels into the boiling bath carefully, and avoid any direct contact with the hot water.
Baking to Perfection
After the pretzels have taken their dip in the baking soda bath, you’ll want to bake them to achieve that perfect golden finish.
Timing and Temperature for Achieving That Golden Brown Finish
Preheat your oven to 425°F (220°C). Line a baking sheet with parchment paper or a silicone baking mat to prevent sticking. Place the pretzels on the baking sheet, spacing them apart to allow for expansion. Bake them for 12-15 minutes or until they are deeply golden. For an extra touch, you can brush them lightly with egg wash (a mixture of egg and water) before baking to enhance the shine.
Signs That Pretzels Are Ready for Removal from the Oven
Keep an eye on your pretzels as they bake. You’ll know they’re ready when they are a rich, deep brown color, and the aroma fills your kitchen with a warm, inviting scent. If you tap the bottom of a pretzel and it sounds hollow, you can be confident they are perfectly baked.
Crafting the Cheesy Bliss Dip
While your pretzels are baking, it’s the perfect time to whip up the Cheesy Bliss Dip that will take your pretzel experience to the next level.
Step-by-Step Process for Preparing the Cheese Dip
1. Ingredients: Gather 2 tablespoons of butter, 2 tablespoons of all-purpose flour, 1 cup of milk, and 2 cups of shredded cheese (such as cheddar or a blend).
2. Create a Roux: In a saucepan over medium heat, melt the butter. Once melted, add the flour and whisk continuously for about 1-2 minutes until it forms a paste. This mixture is known as a roux and will act as the thickening agent for your dip.
3. Incorporate the Milk: Gradually whisk in the milk, ensuring there are no lumps. Continue to whisk until the mixture thickens and bubbles gently.
4. Add the Cheese: Slowly add the shredded cheese, a handful at a time, stirring continuously until it melts completely and the dip is smooth.
Techniques for Incorporating Cheese Smoothly to Avoid Clumps
To prevent clumps in your cheese dip, always use shredded cheese rather than blocks. This ensures quicker melting and easier incorporation into the sauce. If you notice any lumps, you can use an immersion blender to make the dip perfectly smooth.
Customizing the Cheese Dip
Feel free to experiment with flavors to make your cheese dip your own. Here are a few suggestions:
– Spices: Add a pinch of garlic powder, smoked paprika, or cayenne pepper for a kick.
– Cheese Varieties: Mix different cheeses such as pepper jack for heat, gouda for smokiness, or even cream cheese for extra creaminess.
Serving Suggestions
Presentation can elevate the dining experience. Here are some ideas for serving your pretzels and cheese dip:
1. Plating: Arrange the pretzels on a large wooden board or platter. Serve the cheese dip in a small bowl in the center, garnished with fresh herbs like chives or parsley for a pop of color.
2. Pairing Recommendations: Enhance your pretzel and cheese dip experience by pairing it with beverages such as craft beers, sparkling sodas, or a light, citrusy white wine. Fresh vegetable sticks or a simple salad could make a great side as well.
3. Creative Serving Variations: For added fun, consider making pretzel bites by cutting the rolled dough into smaller pieces before twisting. These bite-sized treats are perfect for dipping. You could also create flavored dips such as spicy salsa, ranch, or even a sweet chocolate dip for a unique twist.
Storage and Reheating Tips
If you find yourself with leftover pretzels and cheese dip, proper storage is essential for maintaining freshness.
How to Store Leftover Pretzels and Dip for Maximum Freshness
– Pretzels: Store cooled pretzels in an airtight container at room temperature for up to 2 days. For longer storage, wrap them tightly in plastic wrap and freeze for up to 3 months.
– Cheese Dip: Allow the dip to cool completely before transferring it to an airtight container. It can be stored in the refrigerator for up to 4-5 days.
Best Practices for Reheating Without Losing Texture
To reheat pretzels, preheat your oven to 350°F (175°C) and place them on a baking sheet for about 5-7 minutes. This method helps restore their crispness. For the cheese dip, reheat it gently on the stove over low heat, stirring constantly. You may need to add a splash of milk to restore its creamy consistency.
Suggestions for Repurposing Leftovers
Leftover pretzels can be transformed into delicious pretzel sandwiches filled with deli meats, cheeses, or even fried eggs for a hearty breakfast. Alternatively, you can chop them into pieces and mix them into salads for added crunch.
Conclusion
There’s an undeniable joy in creating soft pretzels and cheesy dip from scratch in your own kitchen. The satisfaction of watching your dough rise, shape into beautiful pretzels, and finally enjoying them hot out of the oven with a luscious cheese dip is an experience to cherish.
Encouraging readers to try this recipe will not only introduce them to the delightful world of homemade pretzels but also inspire them to share their culinary creations with friends and family. The communal aspect of sharing food, especially these warm, comforting snacks, adds to the joy of cooking. Soft pretzels are not just a treat; they are a versatile snack or main dish that brings people together, making every gathering a little more special. So roll up your sleeves, gather your ingredients, and dive into this delicious adventure—you won’t regret it!