
Introduction
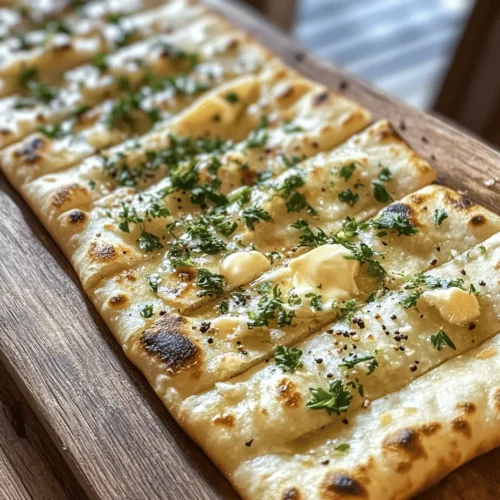
Naan is more than just a type of bread; it is a beloved staple in Indian cuisine that has captured the hearts of food enthusiasts around the globe. This soft, pillowy flatbread, traditionally cooked in a tandoor oven, is not only a perfect accompaniment to curries and stews but also an essential part of many meals, adding texture and warmth to each bite. Among the various types of naan, garlic naan stands out for its aromatic allure and delightful flavor, making it a favorite choice for many.
Garlic naan is particularly special due to its infusion of fragrant garlic and herbs, which elevate the overall dining experience. Whether served with a rich butter chicken, a spicy lamb curry, or enjoyed simply with a side of yogurt, garlic naan enhances the meal by adding depth and a burst of flavor. For those who wish to recreate this restaurant-quality dish at home, this authentic garlic naan recipe provides a straightforward and rewarding approach. By making it yourself, you can enjoy the freshest, most flavorful garlic naan that rivals any served in a restaurant.
This recipe will guide you through the process of making garlic naan from scratch, allowing you to experience the joy of baking and the satisfaction of enjoying homemade bread. With a handful of simple ingredients and a few easy steps, you can bring the tastes of India right into your kitchen.
Understanding the Ingredients
Before diving into the process of making garlic naan, it’s crucial to understand the role of each ingredient in the recipe. Each component contributes to the naan’s texture, flavor, and overall quality, ensuring that your final product is as authentic as possible.
All-Purpose Flour
All-purpose flour is the cornerstone of this recipe, providing the essential structure and texture of the naan. Its balanced protein content is ideal for creating a dough that is both pliable and strong enough to hold its shape. The gluten formed during kneading gives the naan its characteristic chewiness, allowing it to puff up beautifully when cooked. For the best results, you can consider using bread flour, which has a higher protein content, leading to an even chewier texture.
Instant Yeast
Instant yeast is the leavening agent that helps the dough rise, creating a light and airy naan. Unlike active dry yeast, instant yeast does not require proofing before use, making it a convenient choice for home bakers. This yeast works quickly, so your dough will rise faster, allowing for a shorter total preparation time.
Sugar
While sugar is often associated with sweet baked goods, in this recipe, it serves a different purpose. It acts as a food source for the yeast, enhancing its activation and fermentation process. Additionally, sugar contributes a subtle sweetness that balances the savory elements of the naan, enriching its flavor profile.
Salt
Salt is a crucial ingredient, not just for its flavor-enhancing properties but also for its role in gluten development. It strengthens the gluten structure in the dough, resulting in a more elastic and manageable texture. Moreover, salt helps to control the fermentation process, ensuring that the dough rises at an optimal rate.
Yogurt
Yogurt is a key player in this recipe, contributing to both tenderness and flavor. The acidity in yogurt reacts with the yeast, aiding in the leavening process. Additionally, yogurt adds moisture to the dough, which results in a softer naan. Opt for plain, unsweetened yogurt for the best flavor and texture.
Warm Water
Warm water is essential for activating the yeast and achieving the proper dough consistency. The ideal temperature for warm water is around 110°F (43°C), which is warm to the touch but not too hot to kill the yeast. This temperature encourages the yeast to bloom, leading to a well-risen dough.
Olive Oil or Ghee
Adding olive oil or ghee to the dough not only enhances the flavor but also helps keep the naan moist. Ghee, a clarified butter commonly used in Indian cooking, imparts a rich, buttery taste and aroma. Alternatively, olive oil can be used for a lighter flavor while still providing excellent moisture retention.
Garlic and Cilantro
Fresh garlic and cilantro are the stars of garlic naan, infusing it with aromatic flavors that are hard to resist. The garlic can be minced or crushed for a stronger taste, while cilantro adds a fresh, herbal note that complements the richness of the naan beautifully. Opt for fresh ingredients to ensure maximum flavor in your finished product.
Optional Garnishes
To elevate your garlic naan further, consider adding optional garnishes such as nigella seeds or sesame seeds. These seeds not only add a delightful crunch but also enhance the visual appeal of the naan. Sprinkle them on top before baking for an added layer of flavor and texture.
Step-by-Step Instructions
Now that you understand the role of each ingredient, let’s dive into the step-by-step instructions for making authentic garlic naan.
Preparing the Dough
The first step in our naan-making journey is preparing the dough. This process requires careful attention to detail, as the quality of your dough will significantly impact the final product.
Mixing Dry and Wet Ingredients
Start by combining the dry ingredients in a large mixing bowl. This includes the all-purpose flour, instant yeast, sugar, and salt. Whisk them together to ensure they are evenly distributed. Next, create a well in the center of the dry mixture and add the wet ingredients: yogurt and warm water. If you’re using olive oil or ghee, add that as well.
The process of combining these components should be done gradually. Begin by mixing with a wooden spoon or your hand, slowly incorporating the flour into the liquid. This will help prevent lumps and ensure a more uniform dough.
Importance of Gradual Incorporation of Liquids
Gradually adding the liquids to the dry mixture is crucial, as it allows you to gauge the dough’s consistency. You may not need all of the warm water, or you may need a bit more, depending on the humidity and the flour’s absorption capacity. Aim for a dough that is soft but not sticky.
Kneading Techniques
Once the dough has formed, it’s time to knead. Kneading is an essential step that develops the gluten in the dough, giving the naan its characteristic texture.
Proper Kneading for Gluten Development
Transfer the dough to a lightly floured surface and begin kneading it by pressing it down with the palm of your hand, folding it over, and repeating the process. Knead for about 8 to 10 minutes until the dough is smooth and elastic. If the dough feels too sticky, lightly dust it with flour as needed, but avoid adding too much.
Signs of Well-Kneaded Dough
A well-kneaded dough should be soft, elastic, and slightly tacky to the touch. To test if it’s ready, perform the “windowpane test”: stretch a small piece of dough between your fingers. If it forms a thin, translucent membrane without tearing, you’ve successfully developed the gluten.
The First Rise
After kneading, the dough needs to rise. This fermentation process is vital for developing flavor and texture.
Explanation of Fermentation and Its Impact on Flavor and Texture
During this first rise, the yeast will ferment, producing carbon dioxide that causes the dough to expand. This process also develops the flavors in the dough, creating a more complex taste. Allowing the dough to rise for at least an hour will yield the best results.
Ideal Conditions for Rising Dough
To create the ideal conditions for rising, place the dough in a warm, draft-free area. You can cover it with a clean kitchen towel or plastic wrap to retain moisture. If your kitchen is cool, consider placing the dough in an oven with the light on or near a warm stove.
Preparing the Garlic Mixture
While the dough is rising, take this opportunity to prepare the garlic mixture that will be brushed onto the naan before cooking.
Importance of Fresh Ingredients for Maximum Flavor
Mince several cloves of fresh garlic and chop a handful of cilantro. For the best flavor, use fresh ingredients rather than pre-packaged options. Combine the minced garlic and cilantro in a small bowl, and set it aside. This mixture will be spread on the naan just before cooking, ensuring that the garlic flavor is vibrant and aromatic.
—
This sets the stage for creating the perfect artisan garlic naan, allowing you to appreciate the process and ingredients that make this bread so special. Stay tuned for the next part, where we will continue with shaping the naan, cooking methods, and tips for serving this delightful dish.
Timing and Preparation Tips
Before diving into the shaping and cooking of your garlic naan, it’s essential to ensure that all your ingredients are prepped and within reach. This not only streamlines the cooking process but also allows you to focus entirely on creating that perfect naan. Here are some timing and preparation tips to keep in mind:
1. Dough Preparation: Allow your dough to rest for at least 1 to 2 hours. This resting period is crucial as it gives the gluten time to relax, resulting in a softer, more pliable naan. If you can, consider letting it rest for longer; overnight refrigeration can enhance the flavor and texture.
2. Preheat Your Cooking Surface: If using a tandoor, preheat it for at least 30 minutes before cooking. If using a stovetop, ensure your skillet or griddle is heated sufficiently to create that signature char without burning.
3. Gather Your Tools: Have your rolling pin, a clean surface for shaping, and a brush ready for applying butter and garlic mix. This preparation will help you move quickly through the cooking process.
Shaping the Naan
Techniques for Dividing and Shaping Dough
Once your dough has completed its resting period, it’s time to shape it into naan. Start by dusting your work surface with a bit of flour to prevent sticking. Divide the dough into equal portions, approximately the size of a golf ball. This uniformity is important as it ensures even cooking across all your naans.
Importance of Uniform Size for Even Cooking
Consistent sizing is crucial for achieving that desirable texture and doneness across each piece. If some pieces are larger than others, they may cook at different rates, leading to some naans being undercooked while others are charred. Aim for each portion to weigh around 100-120 grams for optimal results.
Tips on Rolling Out Naan to Achieve Desired Thickness
To roll out your naan, flatten each dough ball slightly with your palms before using a rolling pin. Aim for a thickness of about 1/4 inch; this thickness allows for a soft interior while still achieving a nice char on the outside. When rolling, be sure to rotate the dough frequently to maintain a circular shape and avoid sticking.
Cooking Methods
Overview of Traditional vs. Modern Cooking Methods
Garlic naan is traditionally cooked in a tandoor, a cylindrical clay oven that reaches high temperatures, giving naan its characteristic char and smoky flavor. However, not everyone has access to a tandoor, and thankfully, there are effective stovetop methods to achieve similar results.
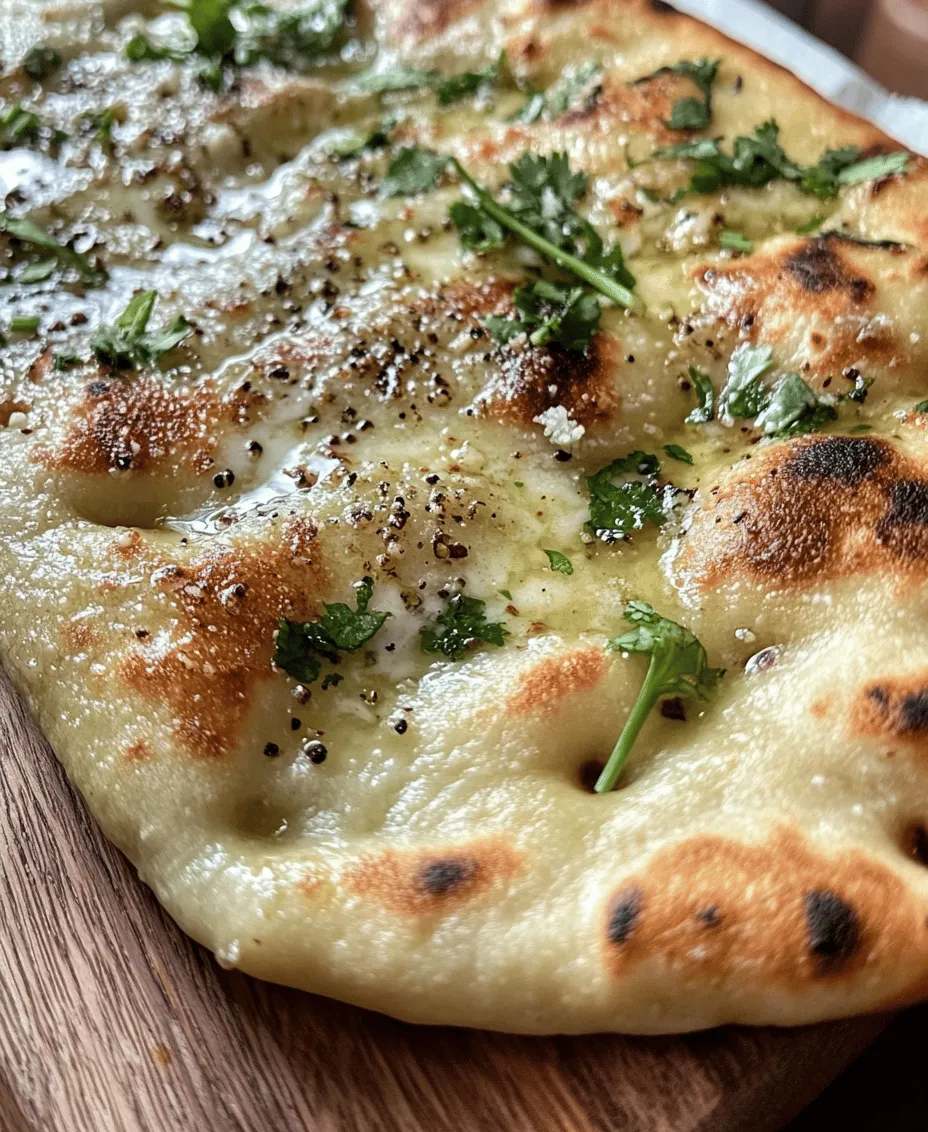
Tandoor Cooking: Authenticity and Flavor
When cooked in a tandoor, the naan puffs up beautifully, creating a light and airy texture. The intense heat caramelizes the garlic and gives the naan a slight char, enhancing the flavor. If you have access to a tandoor, simply slap the rolled naan onto the inner walls and let it cook for about 3-4 minutes until it’s puffed and golden brown.
Stovetop Method: Tips for Achieving Similar Results at Home
To replicate this at home, use a cast-iron skillet or a heavy-bottomed pan. Preheat it over medium-high heat. Once hot, place your rolled naan in the skillet. Cook for about 2-3 minutes until bubbles form on the surface, then flip it over. Cover the skillet with a lid for an additional 1-2 minutes to trap steam, which helps puff the naan.
Detailed Cooking Instructions
1. Preheat your cooking surface: Whether using a tandoor or stovetop, ensure your cooking surface is adequately heated.
2. Cook the naan: Place the rolled naan directly onto the hot surface. For stovetop cooking, flip it when you see bubbles forming. If you’re using a tandoor, wait until it puffs up.
3. Finishing the naan: After both sides are cooked to a golden brown, remove the naan and place it on a plate.
Importance of Cooking Temperature
The success of your naan hinges on the cooking temperature. Too low, and you’ll end up with chewy, undercooked bread; too high, and it may burn before cooking through. A good rule of thumb is to keep the skillet or tandoor at a temperature where water droplets sizzle immediately upon contact.
Understanding Cooking Times for Perfect Naan
Cooking time varies slightly based on your method and the thickness of your naan. Generally, expect about 2-3 minutes per side for stovetop cooking. In a tandoor, the process is quicker, typically around 1-2 minutes per naan. Keep a close watch to avoid overcooking.
Finishing Touches
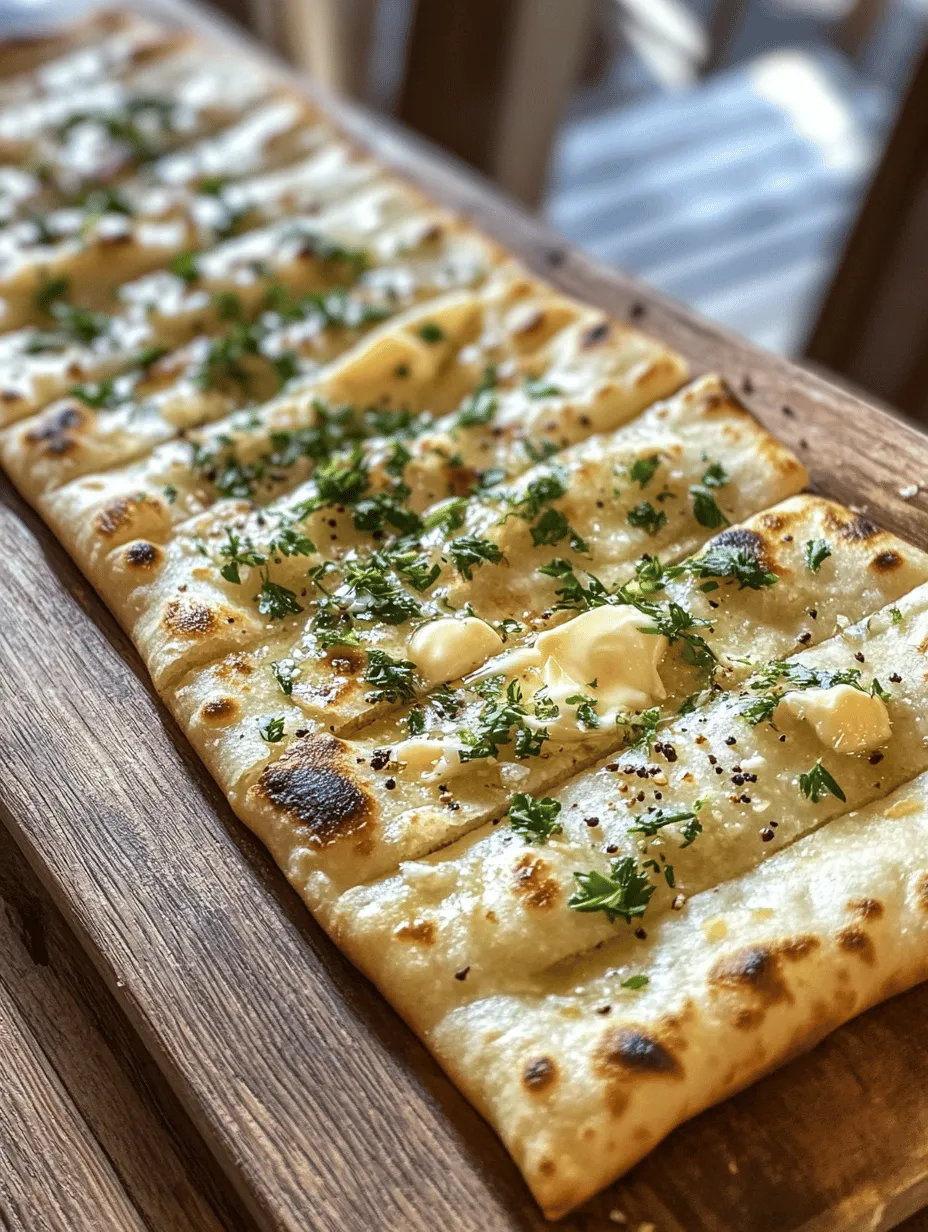
Brushing with Melted Butter and Adding Garlic-Cilantro Mix
The finishing touch to your garlic naan is crucial for flavor enhancement. Once removed from the heat, generously brush the naan with melted butter. This not only adds richness but also helps the garlic and cilantro mixture adhere better.
Enhancing Flavor and Appearance
To create the garlic-cilantro mixture, finely chop fresh cilantro and mix it with minced garlic. Sprinkle this mix over the hot naan, allowing the residual heat to release the aroma of the garlic. This step is vital; it elevates the flavor profile and gives your naan an appealing look.
Optional Garnishing Techniques for Presentation
For an extra touch, consider garnishing with a sprinkle of sesame seeds or a light dusting of paprika. These additions not only enhance the visual appeal but also introduce a slight crunch and additional flavor dimensions.
Serving Suggestions
Ideal Dishes That Pair Well with Garlic Naan
Garlic naan is incredibly versatile and pairs beautifully with a variety of dishes. Here are some excellent pairings to consider:
– Curries: Serve with rich and creamy chicken tikka masala, lamb curry, or a vibrant vegetable curry. The naan acts as a perfect vehicle for scooping up these flavorful dishes.
– Dals: Lentil dishes like dal makhani or tarka dal are excellent companions. The garlic naan complements the earthy flavors of the lentils beautifully.
– Dips: For a lighter option, pair garlic naan with yogurt-based dips like raita or even a spicy mango chutney. It makes for a delightful appetizer or snack.
Creative Serving Ideas for Gatherings or Family Meals
For gatherings, consider creating a naan platter. Serve your freshly made garlic naan alongside a selection of dips, curries, and roasted vegetables. This communal style of dining encourages sharing and enhances the overall dining experience. You could also cut the naan into smaller pieces for easy sharing.
Nutritional Information
Overview of the Nutritional Benefits of Garlic Naan
Garlic naan, while delicious, also brings some nutritional benefits to the table. Made from simple ingredients like flour, yeast, and garlic, it provides carbohydrates that serve as a quick energy source. The garlic not only adds flavor but also boasts health benefits, including potential immune-boosting properties.
Caloric Breakdown and Health Aspects of Ingredients Used
A typical serving (one piece) of garlic naan contains approximately 200-250 calories, depending on the amount of butter used. The dough provides essential carbohydrates, while garlic offers antioxidants. Whole wheat flour can be substituted for all-purpose flour for a healthier option, increasing fiber content.
Potential Dietary Considerations
For those with gluten sensitivities, consider using gluten-free flour alternatives. Additionally, those monitoring their carbohydrate intake may want to enjoy garlic naan in moderation, especially when paired with heavier dishes.
Conclusion
Making authentic garlic naan at home is a rewarding experience that brings the flavors of India right to your kitchen. The joy of kneading the dough, shaping each naan, and cooking them to perfection is unparalleled. The aroma of freshly baked naan, brushed with garlic and butter, is sure to impress anyone lucky enough to share in your culinary creation.
We encourage you to try this recipe, experimenting with flavors and techniques to make it your own. Garlic naan is not just a side; it’s a beloved staple that carries cultural significance, bringing people together at meals and celebrations. As you enjoy your homemade naan, reflect on its rich history and the joy it adds to your dining experience. Whether with family or friends, garlic naan is sure to be a hit, creating lasting memories around the table.