
Introduction
The joy of crafting your own artisan pizza begins with a fundamental element: the dough. It is within this seemingly simple mixture of flour, water, yeast, and salt that the magic of pizza happens. Mastering artisan pizza dough is not just about following a recipe; it’s about understanding the art and science behind each ingredient and step. This article delves into the nuances of making perfect artisan pizza dough, equipping you with not just a recipe but also insights into the techniques that yield the best results. By grasping the importance of each component and the process involved, you can elevate your pizza-making skills and enjoy a delicious homemade meal that rivals your favorite pizzeria.
Understanding the Ingredients
The foundation of any great pizza dough lies in the quality and choice of ingredients. Each component plays a crucial role in the texture, flavor, and overall success of the dough. Here, we break down the key ingredients that contribute to a perfect artisan pizza dough.
All-Purpose Flour: The Backbone of Your Dough
At the heart of every artisan pizza dough is flour, primarily all-purpose flour. This versatile ingredient is favored for its balanced protein content, which typically ranges between 10-12%. This protein content is essential for gluten formation, which gives the dough its structure and elasticity. When kneaded properly, gluten develops, allowing the dough to stretch without tearing.
For the best results, opt for high-quality all-purpose flour that is unbleached and enriched. This type of flour not only enhances the texture of your dough but also contributes to a delightful chewiness that is characteristic of artisan pizzas. While you can experiment with other types of flour, such as bread flour for a chewier texture or whole wheat flour for a nuttier flavor, all-purpose flour remains the most consistent choice for home bakers seeking that classic pizza experience.
Sea Salt: Enhancing Flavor and Structure
Salt is often underestimated in the dough-making process, yet it plays a vital role in both flavor and structure. Sea salt enhances the taste of the dough by balancing the natural sweetness of the flour. More importantly, it strengthens the gluten structure during fermentation, resulting in a dough that is both elastic and resilient.
When using salt in your pizza dough, it’s important to ensure it is evenly distributed. This is best achieved by dissolving the salt in the warm water before adding it to the flour. Not only does this enhance flavor, but it also helps to create a uniform texture throughout the dough.
Sugar: Activating Yeast for Optimal Rise
Sugar serves multiple purposes in pizza dough. It acts as a food source for yeast, helping it to activate and ferment effectively. When yeast consumes sugar, it produces carbon dioxide gas, which causes the dough to rise. This fermentation process is critical for developing flavor and texture in the final product.
Using a small amount of sugar in your dough not only aids in yeast activation but also contributes to the browning of the crust during baking, resulting in that desirable golden hue. For a balanced approach, a teaspoon of sugar is typically sufficient to kickstart the yeast without making the dough overly sweet.
Active Dry Yeast: The Rising Agent
Yeast is the magical ingredient that transforms your dough from a dense mixture into a light, airy crust. Active dry yeast is the most commonly used type for home pizza making. It works by fermenting the sugars in the dough, producing carbon dioxide and alcohol, which leads to the dough’s rise and imparts flavor.
To use active dry yeast effectively, it’s important to activate it with warm water and a pinch of sugar before incorporating it into the dough. This step ensures that the yeast is alive and ready to work its magic. When stored properly, yeast can last a long time, but always check the expiration date before use to ensure optimal fermentation.
Warm Water: The Catalyst for Activation
Warm water is a crucial component in the dough-making process as it serves to activate the yeast and dissolve the sugar and salt. The ideal temperature for warm water is between 100°F to 110°F (37°C to 43°C). This temperature range is warm enough to awaken the yeast without killing it, which can happen at temperatures above 120°F (49°C).
When mixing your ingredients, adding warm water not only promotes better dissolving of the dry ingredients but also creates an inviting environment for yeast growth. This initial step sets the stage for a successful fermentation process that leads to a well-risen dough.
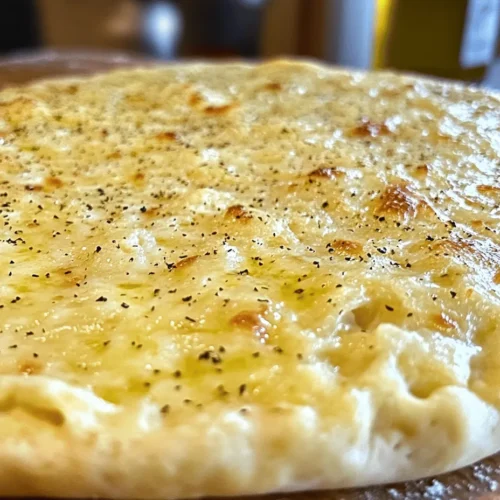
Olive Oil: Adding Richness and Flavor
Olive oil is a beloved addition to artisan pizza dough, enriching it with flavor and creating a tender crust. The fat in olive oil helps to inhibit gluten formation to some extent, which can lead to a softer and more flavorful dough. Additionally, olive oil contributes to the overall mouthfeel of the crust, promoting a pleasant chewiness.
When incorporating olive oil into your dough, consider using extra virgin olive oil for its robust flavor. A tablespoon or two is typically sufficient to enhance the taste without overwhelming the other ingredients.
Cornmeal: The Unsung Hero for Baking
While not a primary ingredient in the dough itself, cornmeal plays an essential role in the pizza-making process. Used as a dusting agent for the pizza peel or baking surface, cornmeal helps prevent the dough from sticking and allows for easy transfer from the counter to the oven. It adds a subtle crunch to the bottom of the crust, enhancing the overall texture of your finished pizza.
To use cornmeal effectively, simply sprinkle a generous amount on your pizza peel or baking sheet before placing the dough on top. This simple step can save you frustration during the baking process and ensure a beautifully baked pizza.
Step-by-Step Instructions for Crafting Artisan Pizza Dough
Now that we have explored the essential ingredients, it’s time to delve into the step-by-step process of making artisan pizza dough. This detailed walkthrough ensures clarity and ease for readers, guiding you through each stage of dough preparation.
Dissolving Sugar and Activating Yeast
1. Gather Your Ingredients: Begin by measuring out your all-purpose flour, sea salt, sugar, active dry yeast, warm water, and olive oil. Having everything ready will streamline the process.
2. Activate the Yeast: In a small bowl, combine about 1 teaspoon of sugar with 1 cup of warm water. Sprinkle the active dry yeast over the surface of the water. Allow this mixture to sit for about 5-10 minutes until it becomes frothy. This indicates that the yeast is alive and active.
3. Mixing the Dry Ingredients: In a large mixing bowl, combine your measured all-purpose flour and sea salt. Mix them together thoroughly to ensure that the salt is evenly distributed throughout the flour.
4. Forming the Dough: Once the yeast mixture is frothy, add it to the bowl of flour along with the olive oil. Mix with a wooden spoon or your hands until the dough begins to come together. It should be slightly sticky but manageable.
Following these initial steps will set you on the right path to creating your own artisan pizza dough. As you continue through the process, you will develop a deeper appreciation for the art of pizza making, ultimately leading to a delicious homemade pizza that showcases your skills and dedication.
Tips for Achieving the Perfect Yeast Froth
Before embarking on your artisan pizza dough journey, it’s crucial to understand the role of yeast in the fermentation process. To achieve the perfect yeast froth, begin by activating your yeast properly. If you’re using dry yeast, sprinkle it over warm water (between 100°F to 110°F) along with a pinch of sugar. Let it sit for about 5-10 minutes until it becomes frothy and bubbly. This step is vital as it indicates that the yeast is alive and ready to work its magic in your dough.
Temperature plays a significant role in the fermentation process. If your kitchen is too cold, the yeast will be sluggish and may not rise properly. Conversely, if it’s too hot, you risk killing the yeast. Aim for a comfortable, warm environment, ideally around 75°F to 80°F, which promotes optimal yeast activity. If your kitchen is chilly, consider placing the yeast mixture in a slightly warm oven (turned off) or near a warm stove to encourage frothing.
Mixing Dry Ingredients for a Uniform Base
Once your yeast is frothy, it’s time to focus on your dry ingredients, typically flour and salt. Thorough mixing is essential for creating a uniform base that will ensure even distribution of flavors and textures throughout your dough. Use a whisk to combine the flour and salt in a large mixing bowl. This step might seem minor, but it’s crucial. If the salt is clumped or unevenly mixed, it can inhibit yeast activity, leading to inconsistent dough rise.
For artisan pizza dough, a high-protein flour, like bread flour, is recommended. It provides the gluten structure necessary for a chewy, crispy crust. Once mixed, create a well in the center of the dry ingredients, which will help when incorporating the wet ingredients.
Combining Wet and Dry Ingredients
Now, it’s time to combine your wet and dry ingredients. Slowly pour the frothy yeast mixture into the well of the dry ingredients. Using a wooden spoon or your hand, gently mix until the flour is absorbed and a shaggy dough begins to form. This part of the process is crucial; overmixing at this stage can lead to tough dough, while undermixing can result in dry patches of flour.
After incorporating the wet and dry ingredients, you’ll notice the dough becoming cohesive. This is where the magic begins. Kneading comes next, which helps develop the gluten necessary for that perfect pizza crust.
Kneading to Perfection: The Art of Gluten Development
Kneading your dough is an essential step that helps develop gluten, giving your pizza its signature chewy texture. Transfer your dough to a lightly floured surface and knead it by pushing it down and away from you with the heel of your hand. Fold it over, rotate it a quarter turn, and repeat. This process should take about 8-10 minutes.
You’ll know your dough is ready when it’s smooth and elastic. A simple test is the “windowpane test”: take a small piece of dough and stretch it between your fingers. If it stretches thin enough to become translucent without tearing, you’ve achieved the perfect gluten development.
The First Rise: Creating Flavor and Texture
Once kneaded, place your dough in a lightly greased bowl, cover it with a damp cloth or plastic wrap, and let it rise in a warm environment. The first rise is significant because it allows the yeast to ferment, creating flavor and texture. Aim for a rise time of about 1-2 hours, or until the dough has doubled in size.
To create the ideal environment for fermentation, place the bowl in a warm, draft-free area. If your kitchen is cool, consider preheating your oven to its lowest setting for a few minutes and turning it off, then placing the bowl inside. This gentle warmth will encourage the yeast to work effectively.
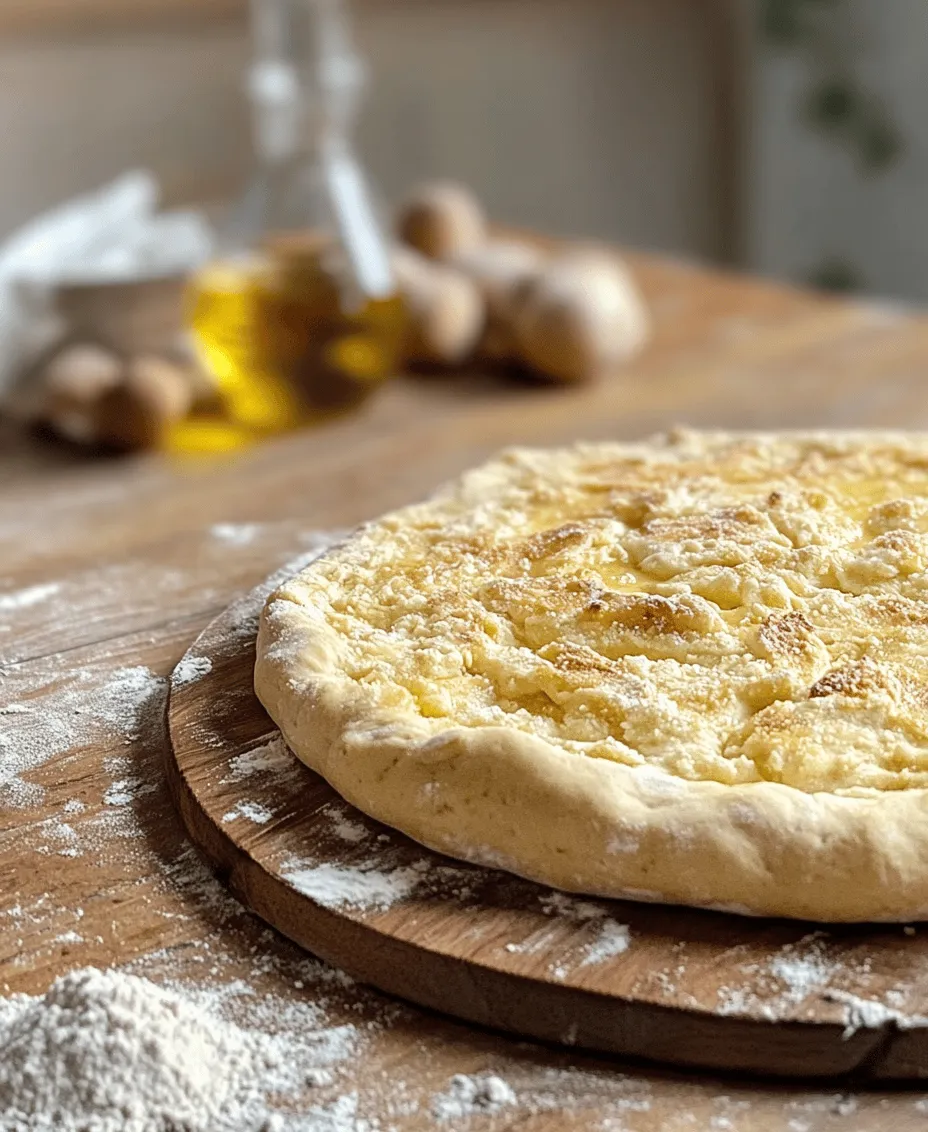
Shaping and Resting the Dough
After your dough has risen, it’s time to shape and rest it. Gently punch down the dough to release excess gas, then transfer it to a lightly floured surface. Divide the dough into equal portions, depending on the size of the pizzas you want to make. For individual-sized pizzas, aim for about 8-ounce portions.
Shape each portion into a ball by tucking the edges under and rolling it on the surface. Once shaped, place the dough balls on a floured baking sheet or in a floured container, cover them, and let them rest for another 30 minutes. This resting period is crucial as it relaxes the gluten, making it easier to stretch the dough without it springing back.
Prepping the Oven for Baking: Achieving the Perfect Crust
While your dough is resting, it’s essential to prepare your oven for baking. If you have a pizza stone, place it in the oven on the middle rack and preheat your oven to its highest setting, usually around 475°F to 500°F. Preheating the stone will help achieve that coveted crispy crust by simulating the intense heat of a traditional pizza oven.
If you don’t have a pizza stone, you can use a baking sheet. Place it upside down in the oven while preheating. This method helps create a similar effect by providing a hot surface for the pizza to bake on.
Stretching and Topping Your Pizza
With your dough rested, it’s time to stretch it into pizza shape. Start by placing a dough ball on a lightly floured surface. Using your fingers, gently press down the center while leaving a thicker edge for the crust. Lift the dough and allow gravity to help stretch it as you rotate it, or use your hands to stretch it outwards. Avoid using a rolling pin as it can deflate the air bubbles created during fermentation.
Once your dough is stretched to your desired size, it’s time to add your toppings. Start with a layer of sauce, followed by cheese, and then your choice of toppings. Be mindful not to overload your pizza; too many toppings can lead to a soggy crust. Aim for a balanced distribution that allows the crust to shine through.
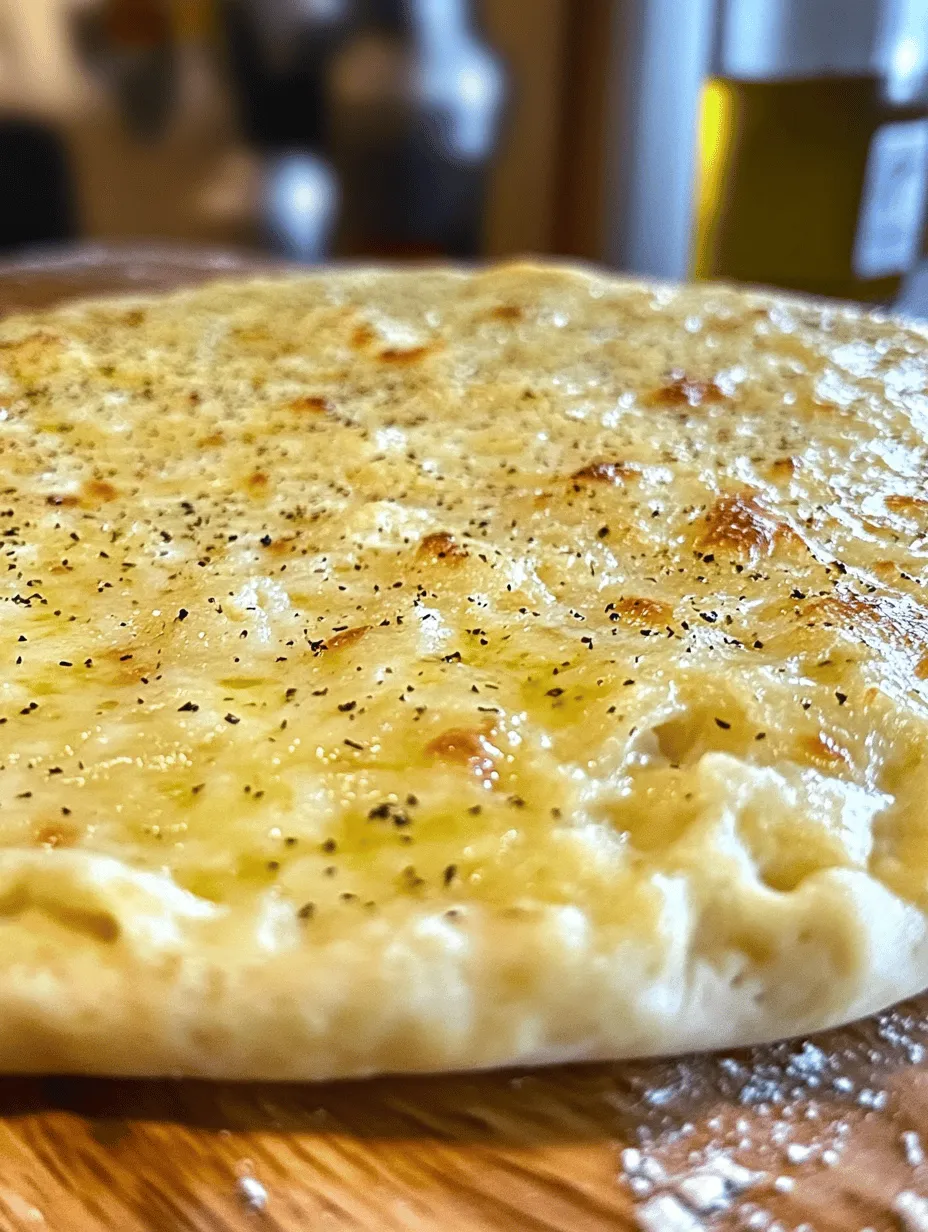
Baking Your Artisan Pizza: Timing and Techniques
Now comes the exciting moment: baking your pizza. Carefully transfer your topped pizza onto the hot pizza stone or baking sheet. Bake for 10-15 minutes, or until the crust is golden and the cheese is bubbling. Keep an eye on your pizza as oven temperatures can vary.
You’ll know your pizza is done when the crust is crispy and has a slight char, and the cheese is melted and slightly browned. If you have a pizza peel, use it to rotate your pizza halfway through cooking to ensure even baking.
Troubleshooting Common Dough Issues
Even the best bakers encounter issues, so it’s essential to know how to troubleshoot common problems. If your dough is too sticky, you may not have added enough flour during the mixing process. Add flour gradually until it reaches a manageable consistency.
If your dough isn’t rising, check the temperature of your ingredients and environment. If the yeast was not activated properly or the dough is too cold, it may not rise as expected. Conversely, if your dough is over-proofed, it may collapse when baked.
Achieving the Perfect Texture and Flavor
The texture and flavor of your artisan pizza crust can be influenced by several factors, including hydration levels and kneading techniques. For a chewier crust, consider increasing the hydration slightly by adding more water to your dough. Experimenting with different types of flour can also yield different textures; for instance, using a blend of bread flour and all-purpose flour can create a delightful balance.
In addition to hydration, the kneading process is crucial. Kneading not only develops gluten but also incorporates air, which contributes to the lightness of the dough. Remember to be patient and allow each step to unfold as it should for the best results.
Conclusion
Homemade artisan pizza dough is not just a recipe; it’s a skill that enhances your culinary repertoire. By following this guide, you can create delicious, restaurant-quality pizzas right in your own kitchen. Understanding the science behind each ingredient and step not only empowers you in the kitchen but also allows you to customize your pizzas to suit your taste. Enjoy the process, experiment with toppings, and share the satisfying experience of homemade pizza with family and friends.
With each pizza you create, you’ll not only improve your technique but also develop a deeper appreciation for the art of pizza making. So roll up your sleeves, gather your ingredients, and embark on this delicious culinary adventure!