
Introduction
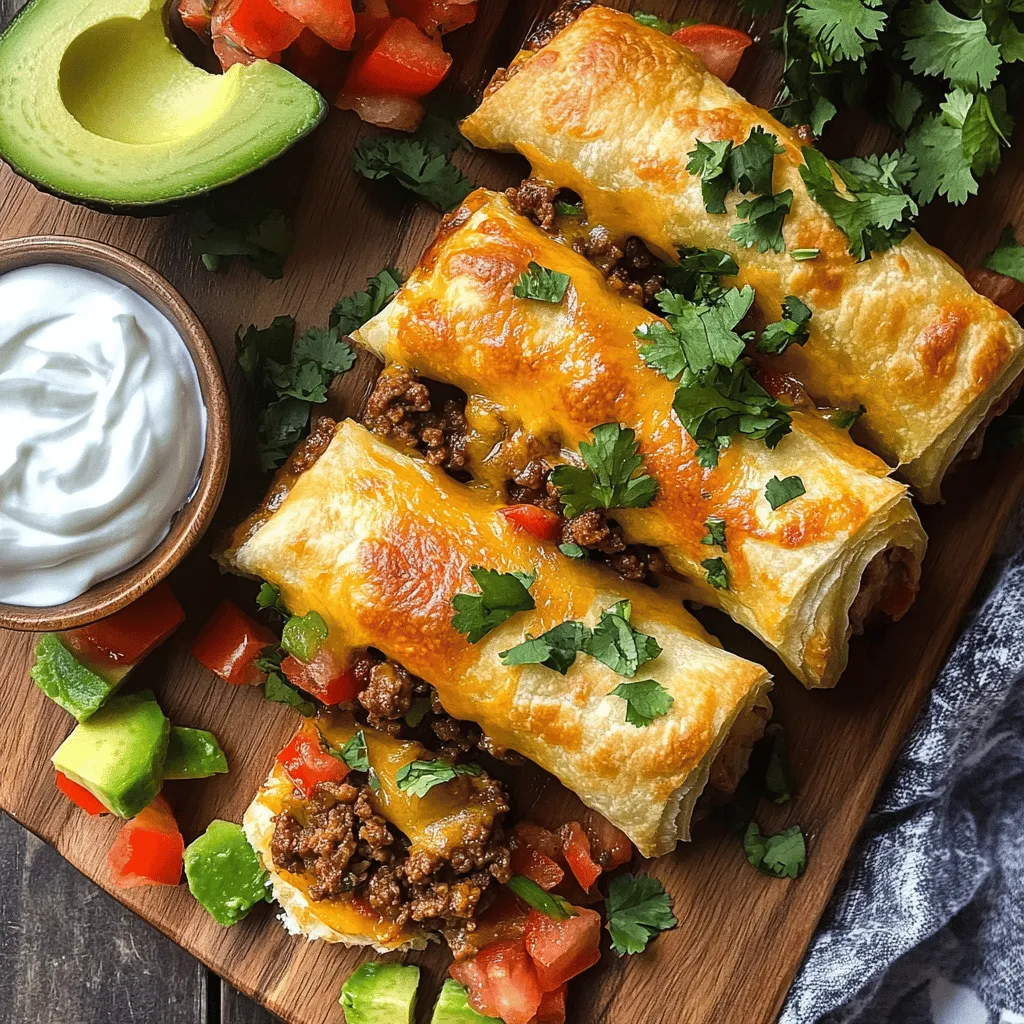
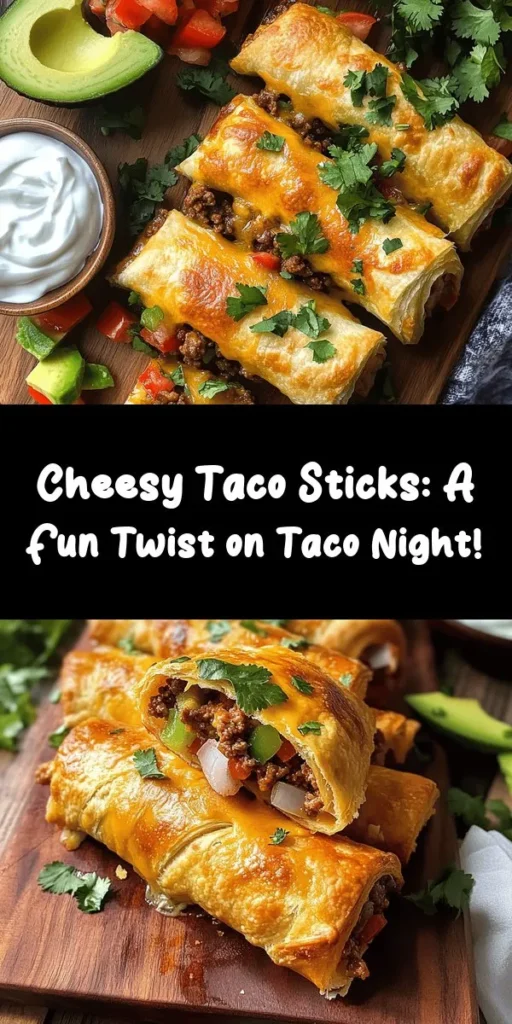
If you’re looking for a delightful twist on traditional flavors, then Cheesy Taco Sticks are the answer! These delectable snacks combine the mouthwatering tastes of classic tacos with the convenience of crescent roll dough, making them an irresistible treat for any occasion. Whether you’re hosting a lively party, gearing up for an exciting game day, or simply craving a comforting dish for a family dinner, Cheesy Taco Sticks are versatile enough to fit the bill.
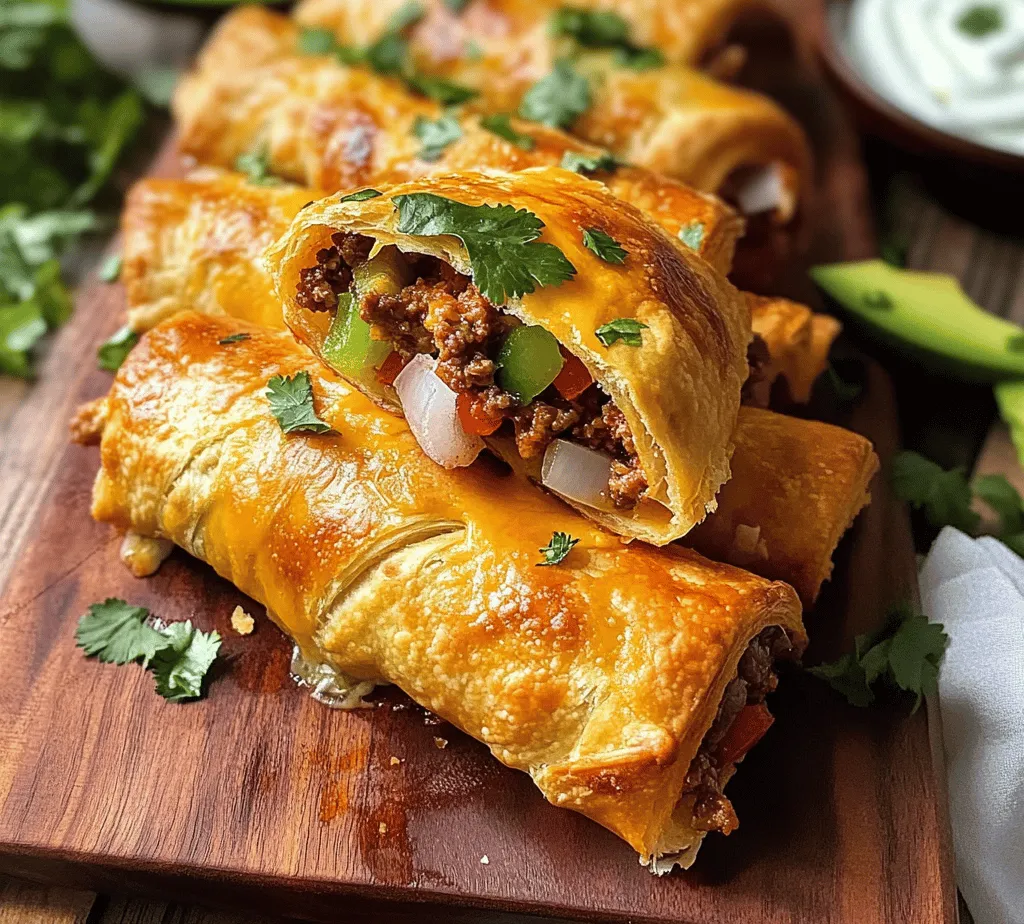
The magic lies in the combination of cheesy, savory flavors enveloped in a crispy, golden-brown crust. Imagine biting into a warm, cheesy taco filling that oozes goodness, perfectly encased in flaky dough. It’s no wonder these tasty morsels have become a favorite among families and foodies alike!
The Allure of Cheesy Taco Sticks
Taco-inspired dishes have surged in popularity in recent years, thanks to their bold flavors and satisfying textures. Cheesy Taco Sticks offer a fun and innovative way to enjoy all the elements of a taco in a handheld snack form. The comfort food aspect of cheesy, meaty snacks appeals widely to those seeking both nostalgia and indulgence. They evoke fond memories of family gatherings and festive celebrations, making them a go-to choice for many.
One of the great things about Cheesy Taco Sticks is their adaptability to cater to various dietary preferences. For those looking for a healthier option, you can easily swap out ground beef for ground turkey or even plant-based alternatives. This flexibility allows you to customize the recipe to fit your lifestyle while still enjoying that cheesy, flavorful experience that everyone loves.
Ingredients Breakdown
To create the perfect Cheesy Taco Sticks, you’ll need a few key ingredients that come together to deliver outstanding flavor and texture. Here’s a closer look at each component:
– Ground Beef or Turkey: This is the star of the filling, providing the meaty foundation for your taco sticks. Ground beef is rich and flavorful, while ground turkey is a leaner alternative that still offers great taste. Both options are packed with protein, making them a satisfying choice for snacking.
– Taco Seasoning: This blend of spices is crucial for enhancing the flavor of your meat. A good taco seasoning typically includes chili powder, cumin, garlic powder, and paprika, among other spices. It adds that quintessential taco flavor that makes these sticks so irresistible.
– Cheddar and Monterey Jack Cheeses: The combination of these two cheeses creates a deliciously creamy and melty filling. Cheddar offers a sharp flavor, while Monterey Jack contributes a mild creaminess, ensuring each bite is rich and satisfying.
– Crescent Roll Dough: This is the perfect vessel for encasing your taco filling. The dough is easy to work with and bakes up light and flaky, providing that satisfying crunch that complements the cheesy filling.
– Fresh Vegetables (Onion, Bell Pepper, Jalapeño): Adding fresh vegetables not only boosts the flavor but also introduces a nice crunch and freshness to the filling. Onions and bell peppers give a sweet and slightly tangy taste, while jalapeños offer a kick of heat for those who enjoy a bit of spice.
– Salsa: Salsa adds moisture and depth to the filling, ensuring that your Cheesy Taco Sticks are not only flavorful but also juicy. You can use store-bought salsa or make your own for a fresh touch.
– Egg Wash: A simple mixture of beaten egg brushed on the dough before baking will help achieve that beautiful golden-brown finish. This step is essential for making your taco sticks look as good as they taste.
– Garnishes (Cilantro, Sour Cream, Avocado): Serving your Cheesy Taco Sticks with garnishes elevates the dish to a new level. Fresh cilantro adds a pop of color and a burst of flavor, while sour cream and avocado provide a creamy richness that perfectly complements the savory filling.
Step-by-Step Instructions
Now that we have a comprehensive understanding of the ingredients, let’s dive into the step-by-step instructions to make these scrumptious Cheesy Taco Sticks. Follow these guidelines closely to ensure your snacks turn out perfectly every time:
1. Preheat the Oven: Start by preheating your oven to 375°F (190°C). This ensures that your Cheesy Taco Sticks will bake evenly and achieve that desirable golden color.
2. Prepare the Filling: In a large skillet over medium heat, add your ground beef or turkey. Cook until browned, breaking it apart with a spatula as it cooks. This should take about 7-10 minutes. Drain any excess fat if necessary.
3. Add Vegetables and Seasoning: Once the meat is browned, add diced onions, bell peppers, and jalapeños to the skillet. Sauté the mixture for about 5 minutes, or until the vegetables have softened. Stir in your taco seasoning and a splash of salsa, allowing the flavors to meld together. Cook for an additional 2-3 minutes, then remove from heat.
4. Incorporate Cheese: Stir in the shredded cheddar and Monterey Jack cheeses until melted and combined into the filling. This cheesy mixture will be the star of your Cheesy Taco Sticks!
5. Roll Out the Dough: Unroll the crescent roll dough onto a clean surface. Separate the dough into triangles as per the package instructions. It’s important to keep the triangles intact as you will be filling each one.
6. Fill the Dough: On the wide end of each triangle, spoon a generous amount of the cheesy taco filling. Be careful not to overfill, as this can make sealing the dough difficult.
7. Roll and Seal: Starting at the wide end, carefully roll the dough over the filling, tucking the edges in as you go. This ensures your filling stays secure during baking. Pinch the edges to seal and place the rolled sticks seam-side down on a baking sheet lined with parchment paper.
8. Apply Egg Wash: In a small bowl, whisk together an egg with a tablespoon of water to create the egg wash. Brush the tops of the rolled taco sticks with the egg wash for that perfect golden finish.
9. Bake: Place the baking sheet in your preheated oven and bake for 12-15 minutes, or until the crescent roll dough is puffed and golden brown. Keep an eye on them to avoid over-baking.
10. Serve and Enjoy: Once out of the oven, allow the Cheesy Taco Sticks to cool slightly before serving. Accompany them with your favorite garnishes such as fresh cilantro, sour cream, or slices of avocado for a truly satisfying snack experience.
With these steps, you’re well on your way to creating delicious Cheesy Taco Sticks that will impress your guests and satisfy your taste buds. Stay tuned for the next part, where we’ll explore some tips for the best results and answer common questions about this fabulous recipe!
Detailed Preparation Steps
Preheating the Oven
Preheating your oven is a crucial first step in baking Cheesy Taco Sticks. Set your oven to 375°F (190°C) to ensure even cooking. The importance of preheating cannot be overstated; it allows the dough to rise properly and ensures that the filling cooks through without overcooking the exterior. Baking at the right temperature helps achieve that golden-brown finish while keeping the insides deliciously melty.
Preparing the Filling
Start by preparing the filling, as this is where the flavor of your Cheesy Taco Sticks will really shine. Begin by finely chopping your bell pepper, onion, and any other vegetables you wish to include. Heat a tablespoon of olive oil in a skillet over medium heat. Sauté the vegetables for about 3-5 minutes until they become soft and aromatic. This step is crucial; sautéing helps to caramelize the natural sugars in the vegetables, enhancing their flavor and adding depth to your filling. Once the vegetables are soft, set them aside to cool slightly.
Cooking the Meat
For the meat, you can use ground beef, turkey, or even shredded chicken. In the same skillet, add your choice of meat and cook over medium-high heat. Break it apart with a spatula to ensure even browning. Season the meat with taco seasoning, garlic powder, and a pinch of salt and pepper. The key to perfectly cooked meat is to let it brown nicely without stirring too frequently; this will create a rich flavor that complements the taco sticks. Once browned, drain any excess fat and mix in the sautéed vegetables.
Combining Ingredients
Next, combine the cooked meat and vegetables in a mixing bowl. Add shredded cheese (cheddar or Mexican blend works best), and a dollop of sour cream or cream cheese for creaminess. Make sure the mixture is well combined, achieving a slightly sticky consistency — this helps ensure that the filling stays intact when you roll the dough. Taste the mixture and adjust seasoning as needed; a little extra taco seasoning can elevate the flavor even more.
Assembling the Sticks
Now it’s time to assemble your Cheesy Taco Sticks. Unroll your crescent roll dough onto a clean surface and separate it into triangles as indicated on the package. For each triangle, place a generous spoonful of your filling at the wide end. Roll the dough starting from the wide end towards the point, making sure to tuck in the edges as you go to secure the filling. This technique not only helps keep the filling from spilling out but also allows for a visually appealing spiral effect once baked. Arrange the rolled taco sticks on a baking sheet lined with parchment paper.
Applying the Egg Wash
To achieve a beautiful golden-brown finish on your Cheesy Taco Sticks, apply an egg wash. In a small bowl, beat an egg with a teaspoon of water. Using a pastry brush, gently coat the tops of the rolled sticks with the egg wash. This step is essential for creating that appetizing sheen and helps the spices or cheese on top stick better.
Baking
Place the baking sheet in the preheated oven and bake for 12-15 minutes or until the taco sticks are golden brown and the cheese is melted and bubbling. Keep an eye on them; ovens can vary, and you want to ensure they don’t over-bake. The final result should be crispy on the outside and cheesy on the inside, making for an irresistible snack or appetizer.
Serving Suggestions
Cheesy Taco Sticks are incredibly versatile, making them an excellent option for various occasions. Here are some creative ideas for serving these delicious treats:
Pairing with Dips
Enhance your Cheesy Taco Sticks by pairing them with a selection of dips. Guacamole is a classic choice, providing a creamy texture that balances the cheesy filling. Salsa adds freshness and zest, while a warm queso dip can elevate the overall experience with its rich and cheesy flavor. Consider offering a variety of dips so guests can choose their favorites.
Complementary Side Dishes
To make a complete meal out of your Cheesy Taco Sticks, consider serving them alongside Mexican rice or a fresh salad. Mexican rice, with its seasoned tomatoes and spices, complements the flavors of the taco sticks beautifully. A simple green salad topped with avocado, cherry tomatoes, and a light vinaigrette will add a refreshing contrast to the richness of the dish.
Presentation Ideas
Presentation is key when serving Cheesy Taco Sticks. Arrange them on a platter and garnish with fresh herbs such as cilantro or parsley for a vibrant touch. You can also sprinkle some chopped green onions or a dusting of chili powder for an added pop of color and flavor. For a fun twist, serve the sticks in a taco holder or upright in a mason jar for a trendy display.
Nutritional Information
Understanding the nutritional profile of your Cheesy Taco Sticks can help you enjoy them guilt-free. Here’s an approximate breakdown per serving (assuming 8 sticks total):
– Calories: 300
– Protein: 12g
– Fat: 18g
– Carbohydrates: 24g
– Fiber: 2g
While Cheesy Taco Sticks are indulgent, there are several ways to make them healthier. Consider using whole wheat crescent rolls instead of regular ones for added fiber and nutrients. You can also reduce the amount of cheese or substitute it with a lower-fat variety to cut down on calories. Adding more vegetables to the filling not only enhances the flavor but also boosts the nutritional value of the dish.
Conclusion
Cheesy Taco Sticks are an irresistible combination of flavors and textures that make them a favorite among families and friends alike. They are simple to prepare, making them an excellent choice for busy weeknights or casual gatherings. Their versatility allows you to customize the filling according to your preferences, ensuring that everyone can enjoy these delightful snacks.
From their cheesy, savory filling to the flaky, golden crust, Cheesy Taco Sticks are sure to impress at any occasion. Whether you serve them as an appetizer at a party or as a fun dinner option, they are guaranteed to be a hit. We encourage you to try this recipe and share your experiences with family and friends. Happy cooking!
