
Introduction
In the world of culinary delights, few dishes can rival the joy of crafting your own artisan pizza at home. The allure of a perfectly baked pizza lies not just in its toppings but in its foundation—the dough. Artisan pizza, characterized by its rustic charm and exceptional flavor, invites pizza enthusiasts to embark on a journey of homemade perfection. The process of making pizza dough from scratch is not only rewarding but also allows you to control the quality of ingredients, ensuring a delicious base for your favorite combinations.
Using high-quality ingredients and traditional techniques, you can achieve a restaurant-quality crust right in your kitchen. Artisan pizza dough is a testament to the beauty of simplicity, where flour, water, yeast, and salt come together to create something extraordinary. From classic Margherita to gourmet toppings like prosciutto and arugula, the versatility of pizza dough opens up a world of culinary creativity.
In this guide, we will delve into the art of making artisan pizza dough, exploring the significance of each ingredient and the techniques that elevate your pizza game. Whether you’re a seasoned chef or a novice in the kitchen, this recipe will empower you to create delicious pizzas that impress family and friends alike.
Understanding Artisan Pizza Dough
Artisan pizza dough is defined by its craftsmanship—every step in its preparation is executed with care and precision. Unlike commercial pizza dough, which often relies on preservatives and additives, artisan dough celebrates the natural fermentation process, resulting in a crust that is both flavorful and textured. The differences in texture and flavor can be attributed to the length of fermentation and the quality of ingredients used.
Commercial pizza dough typically lacks the depth of flavor found in artisan varieties, often resulting in a bland crust that serves merely as a vehicle for toppings. In contrast, artisan pizza dough boasts a complex flavor profile, thanks to the slow fermentation process that allows the dough to develop its characteristics over time. This process creates a crust that is light, airy, and slightly chewy, with a satisfying crunch when baked to perfection.
When you make artisan pizza dough at home, you embrace the rhythm of traditional baking methods. You’ll find that the textures and flavors become more pronounced as you learn to appreciate the nuances of each ingredient. Every batch of dough is a reflection of your skill, patience, and dedication to the craft of pizza-making.
Key Ingredients for Artisan Pizza Dough
Creating artisan pizza dough begins with understanding the essential ingredients that contribute to its flavor and structure. Each component plays a vital role in transforming simple ingredients into a beautiful and delicious pizza base.
All-Purpose Flour
All-purpose flour forms the backbone of your pizza dough. With a protein content typically ranging from 10-12%, it strikes a balance between strength and tenderness. This flour provides the necessary gluten structure, which gives the dough its elasticity and chewiness. For an even more authentic artisan experience, consider using bread flour, which has a higher protein content and can yield a chewier crust.
Sea Salt
Salt is a critical ingredient in any bread-making process, and artisan pizza dough is no exception. Sea salt not only enhances the flavor of the dough but also plays a key role in regulating yeast activity. By controlling fermentation, salt helps to strengthen gluten development and improve the overall texture of the crust. It’s important to use high-quality sea salt, as it will contribute to the dough’s flavor profile and ensure that every bite is seasoned to perfection.
Sugar
While sugar may seem like an unconventional addition to pizza dough, it serves a crucial purpose. Sugar acts as food for the yeast, helping to activate it and kickstart the fermentation process. This activation is essential for achieving a good rise in the dough. Additionally, a hint of sweetness balances the savory elements of the pizza, enhancing its overall flavor.
Active Dry Yeast
Yeast is the magical ingredient that brings your dough to life. Active dry yeast works by fermenting the sugars present in the dough, producing carbon dioxide gas that causes the dough to rise. When using active dry yeast, it’s important to ensure that it is fresh and properly activated before incorporating it into your dough. This activation is essential for achieving a light and airy crust.
Warm Water
Water is the essence of dough, bringing all the ingredients together. The ideal temperature for activating yeast falls between 100°F to 110°F (37°C to 43°C). Using water that is too hot can kill the yeast, while water that is too cold will slow down the fermentation process. Properly warmed water helps to create the optimal environment for yeast activation, ensuring your dough rises beautifully.
Extra Virgin Olive Oil
Extra virgin olive oil adds richness and flavor to your pizza dough. It not only contributes to the overall taste but also helps to create a tender texture by coating the flour particles. This results in a dough that is easy to work with and produces a crust that is both crisp and flavorful. Additionally, the use of high-quality olive oil can elevate the taste of your finished pizza.
Cornmeal
Lastly, cornmeal plays a vital role in the pizza-making process, particularly during the baking stage. A light dusting of cornmeal on your pizza peel or baking surface prevents the dough from sticking, allowing for easy transfer to the oven. It also adds a subtle crunch to the crust, enhancing the overall texture of your pizza.
Step-by-Step Instructions for Artisan Pizza Dough
Now that we’ve covered the key ingredients, let’s dive into the process of making artisan pizza dough. This step-by-step guide will help you navigate each stage of the dough-making process, ensuring you achieve the desired results.
Activating the Yeast
The first step in making artisan pizza dough is to activate the yeast. Begin by measuring out the appropriate amount of warm water (around 1 cup) in a small bowl. Sprinkle the active dry yeast over the surface of the water, followed by a teaspoon of sugar. Allow the mixture to sit for about 5-10 minutes.
During this time, you should see the yeast begin to foam and bubble, indicating that it’s active and ready to work its magic. If there is no foaming after this period, it may signal that the yeast is old or the water temperature was incorrect, and you should start again with fresh yeast.
Once the yeast is activated, it’s time to move on to the next steps in creating your artisan pizza dough.
(Continue with the next steps in the following sections.)
Mixing Dry Ingredients
The foundation of any great artisan pizza dough lies in the precise mixing of dry ingredients. Begin by combining your flour, salt, and yeast in a large mixing bowl. Proper mixing is critical, as it ensures that the yeast is evenly distributed throughout the flour. This step is essential for achieving a uniform rise and texture in the final dough. When the yeast is combined with flour and salt, it begins to awaken, preparing to create those delightful air pockets that give the crust its characteristic lightness.
Make sure to use high-quality flour, preferably bread flour, which has a higher protein content compared to all-purpose flour. This protein is crucial for developing the gluten structure that provides strength and chewiness to your pizza crust. Once your dry ingredients are well mixed, you’re ready to combine them with the wet ingredients.
Combining Ingredients
To bring your dough to life, create a well in the center of your dry mixture. This well will serve as a receptacle for your water and olive oil. Pour in the warm water (ideal temperature is around 100°F or 38°C) along with the olive oil. The warmth of the water activates the yeast, promoting fermentation—a vital step in the dough-making process.
Using a wooden spoon or your hands, gently mix the ingredients, starting from the inner rim of the well and gradually working your way outwards. This technique helps incorporate the flour into the liquid without creating a mess. Ensure all ingredients are blended until a shaggy dough forms, but don’t worry if it looks a bit rough at this stage; the magic happens during kneading.
Kneading the Dough
Kneading is where the dough transforms from a sticky mass into a smooth, elastic ball. Sprinkle a clean surface with a bit of flour to prevent sticking and turn your dough out onto it. Begin kneading by pressing the dough with the heel of your hands, folding it over, and repeating this process. Aim for about 8 to 10 minutes of kneading.
You’ll know your dough is ready when it becomes smooth and elastic, bouncing back slightly when pressed. If the dough is too sticky, add small amounts of flour as needed, but be cautious not to overdo it, as too much flour can lead to a dry crust. Remember, the goal is to develop gluten—this is what gives your pizza its characteristic chewiness.
First Rise
After kneading, place your dough in a lightly oiled bowl, covering it with a damp cloth or plastic wrap. This first rise is crucial for flavor and texture development. The ideal room temperature for rising is around 75°F to 80°F (24°C to 27°C). If your kitchen is cooler, consider placing the dough in a slightly warmed oven (turned off) or a warm spot in your home.
Let the dough rise until it doubles in size, which usually takes about 1 to 2 hours. During this time, the yeast ferments, producing carbon dioxide that causes the dough to expand. You’ll know it’s ready when you gently press your finger into the dough, and the indentation remains.
Punching Down
Once the dough has risen beautifully, it’s time for a gentle punch down. This step involves pressing the dough lightly with your fist to release some of the gas bubbles formed during fermentation. Not only does this help redistribute the yeast and sugars, but it also enhances the flavor of your crust by allowing the yeast to continue working. Punching down is an essential technique, so be sure to be gentle yet firm.
Dividing the Dough
Now that your dough has been punched down, it’s time to divide it into portions. Depending on how large you want your pizzas, you can divide the dough into 2 to 4 equal pieces. Keep in mind that the size of the portions will affect the thickness of your crust. For a traditional thin crust, divide into 4 portions; for a thicker crust, go with 2. Shape each portion into a tight ball by folding the edges toward the center and rolling it gently in your hands.
Shaping the Dough
Once you have your dough balls ready, place them on a floured surface, and cover them with a damp cloth. Let them rest for about 30 minutes. This resting period allows the gluten to relax, making it easier to shape the dough into pizza bases.
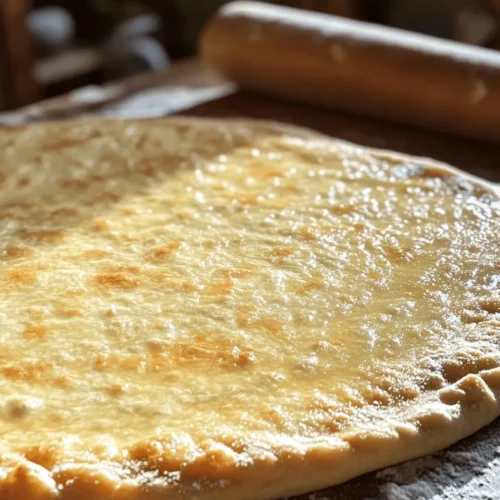
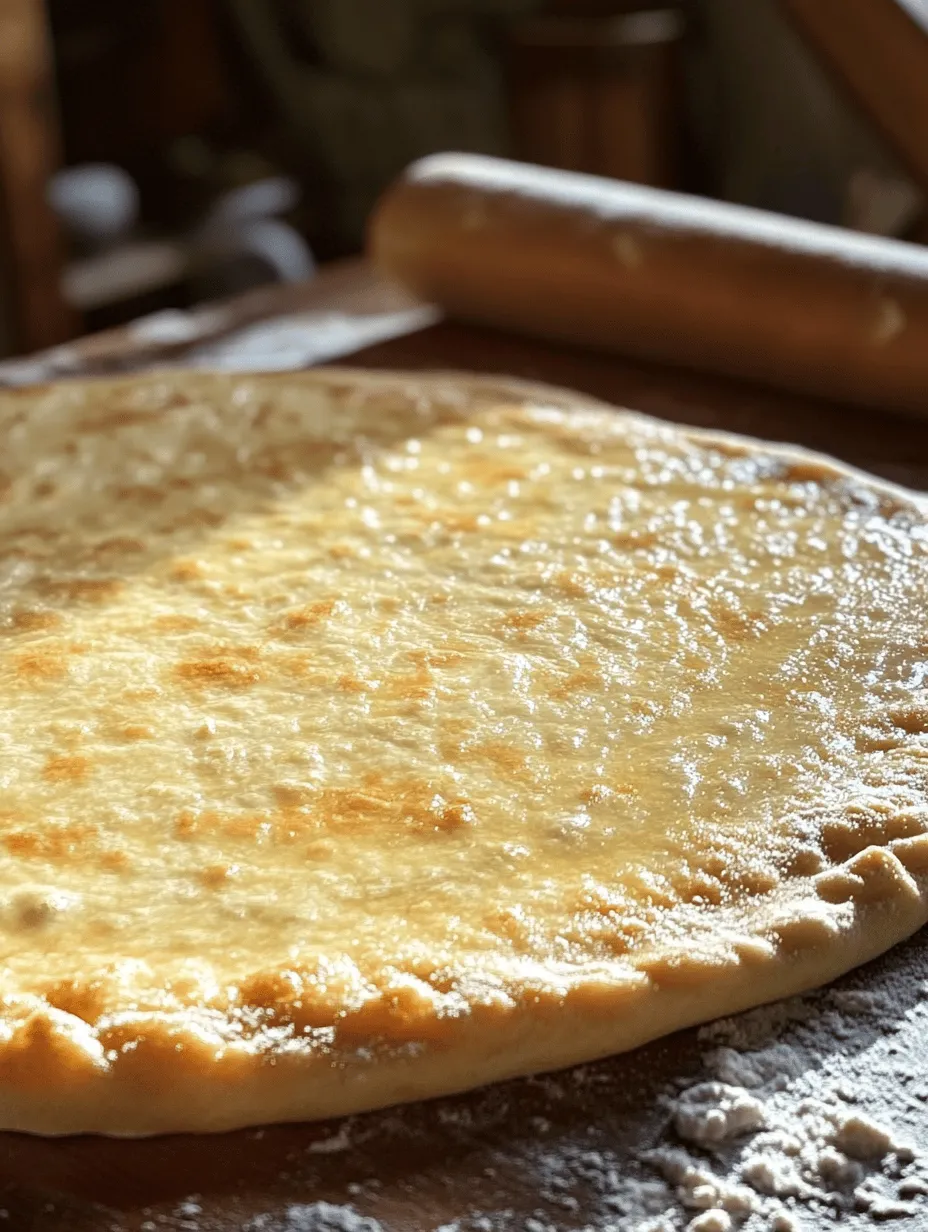
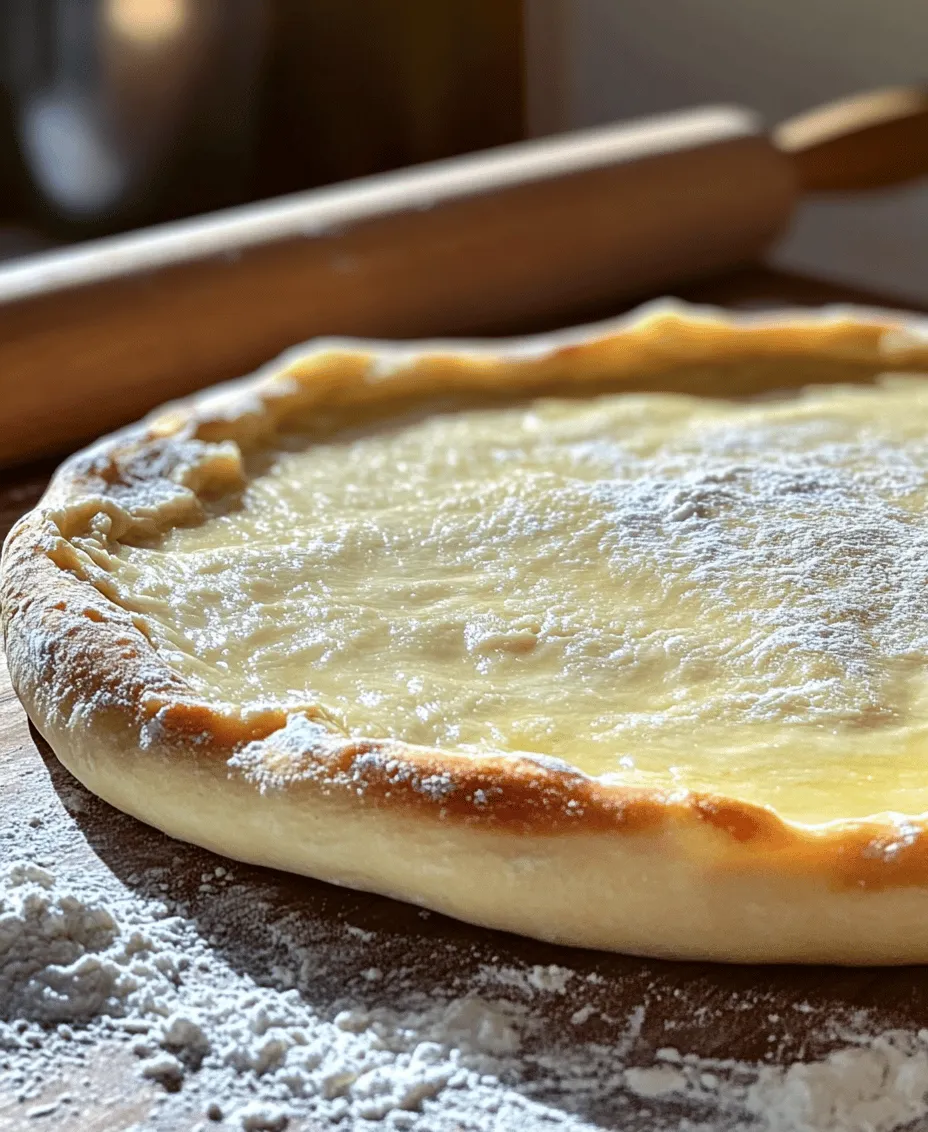
To shape the dough, start by flattening a ball with your fingers, then gently stretch it outwards using your hands. Avoid using a rolling pin, as this can deflate the air pockets created during fermentation. Instead, use your fingertips to push from the center outwards, maintaining a slightly thicker edge for the crust. If the dough resists stretching, give it a few more minutes to relax before continuing.
Preheating the Oven
While shaping your dough, it’s essential to preheat your oven to its highest setting, typically around 475°F to 500°F (245°C to 260°C). A hot oven is crucial for achieving that desirable crispy crust. If you have a pizza stone, place it in the oven while it preheats. This will help retain heat and create a beautifully baked crust.
Rolling Out
When it’s time to roll out your dough, ensure it’s on a well-floured surface to prevent sticking. Aim for a thickness of about ¼ inch for a thin crust, adjusting according to your preference. Remember to use your fingertips to shape the edges, giving it that artisanal touch.
If you want a stuffed crust, make sure to leave an extra inch around the edge for folding. The key is to manage the edges carefully; a thicker edge retains air, resulting in a delightful puff when baked.
Preparing for Toppings
Before adding your favorite toppings, it’s important to prepare your dough. Transfer it to a pizza peel or a baking sheet lined with parchment paper. Lightly dust the surface with flour or cornmeal to prevent sticking. This step is vital as it allows you to slide the pizza onto the hot stone or directly into the oven without damaging your masterpiece.
Make sure the surface is well-prepared and evenly shaped. It’s advisable to pre-bake the crust for about 5 minutes if you’re using multiple toppings. This will help ensure that the crust cooks through without becoming soggy.
Baking
Now comes the exciting part: baking your pizza! Carefully slide your pizza onto the preheated stone or place the baking sheet in the oven. Bake for 10 to 15 minutes, keeping an eye on it. You want a golden-brown crust with bubbling cheese and perfectly cooked toppings. The precise timing will vary depending on your oven and the thickness of your crust, so don’t hesitate to check for doneness.
If you have a pizza stone, consider using a pizza peel to rotate the pizza halfway through baking. This ensures even cooking and prevents any burning.
Enjoying Your Pizza
Once your pizza is baked to perfection, remove it from the oven and let it cool for a couple of minutes before slicing. This cooling period allows the cheese to set slightly, making it easier to cut.
Now comes the fun part—toppings! Get creative with your combinations. Consider classic options like pepperoni and mozzarella, or experiment with gourmet toppings such as roasted vegetables, arugula, or even a drizzle of balsamic glaze. The possibilities are endless, and this is where your personal touch can shine.
The Science Behind Pizza Dough
Understanding the science behind pizza dough can elevate your baking game. As the yeast ferments, it produces carbon dioxide, which creates air pockets in the dough, resulting in a light, airy texture. The gluten proteins in the flour develop as you knead, providing structure and elasticity.
Temperature plays a pivotal role in dough fermentation. Warmer temperatures accelerate yeast activity, leading to quicker rises, while cooler temperatures slow it down. This is why a warm environment is ideal for the first rise.
Additionally, the balance of moisture in your dough is crucial. Too little or too much water can lead to sticky dough or a dry crust. Understanding these principles allows you to troubleshoot issues and refine your dough-making skills.
Tips for Perfecting Artisan Pizza Dough
While making artisan pizza dough can be straightforward, some common issues may arise. If your dough is too sticky, try adding a little more flour during the kneading process. Alternatively, if it’s too dry, consider adding a bit of water, one tablespoon at a time, until the desired consistency is achieved.
Under-risen dough can result in a dense crust, so ensure you give it ample time to rise in a warm environment. Conversely, avoid over-kneading, which can lead to a tough texture. Aim for that perfect balance to create a delightful crust.
Humidity and temperature variations can also affect your dough. On particularly humid days, you may need to adjust the flour quantity; on dry days, you might need to add a little more water. Familiarizing yourself with your kitchen’s conditions will help you adapt the recipe accordingly.
Conclusion
Creating artisan pizza dough at home is a rewarding experience that opens the door to countless culinary possibilities. The joy of mastering this fundamental skill is immeasurable, paving the way for delightful homemade pizza nights filled with creativity and flavor.
As you embark on your pizza-making journey, remember to experiment with various toppings, sauces, and cheeses to discover your perfect combination. Enjoy the process, share your creations with loved ones, and savor the satisfaction of baking your very own artisan-style pizzas. With practice, you’ll refine your technique, and soon enough, you’ll be impressing friends and family with your homemade masterpieces. Happy baking!